Installing Serene Directly From Visual Studio
Start Visual Studio and Click New => Project.
Note that this application template requires Visual Studio 2012 or higher. Make sure you have the latest Visual Studio updates installed.
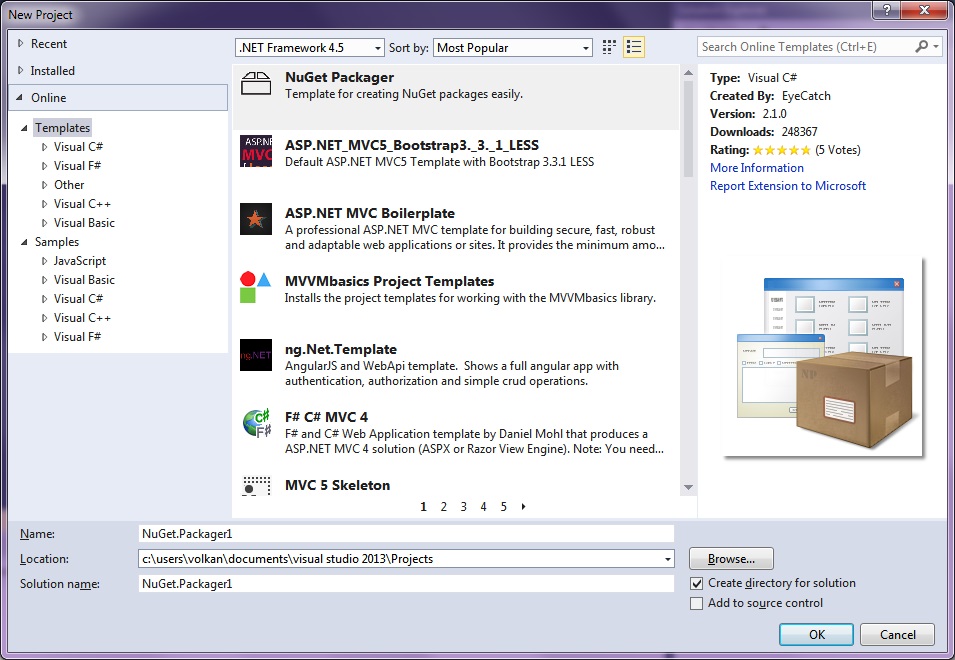
In the New Project dialog box Recent, Installed and Online sections will be shown on left and Installed is the active one.
Click the Online section and wait a bit while Retrieving information message is on screen.
Please wait while it is loading results.
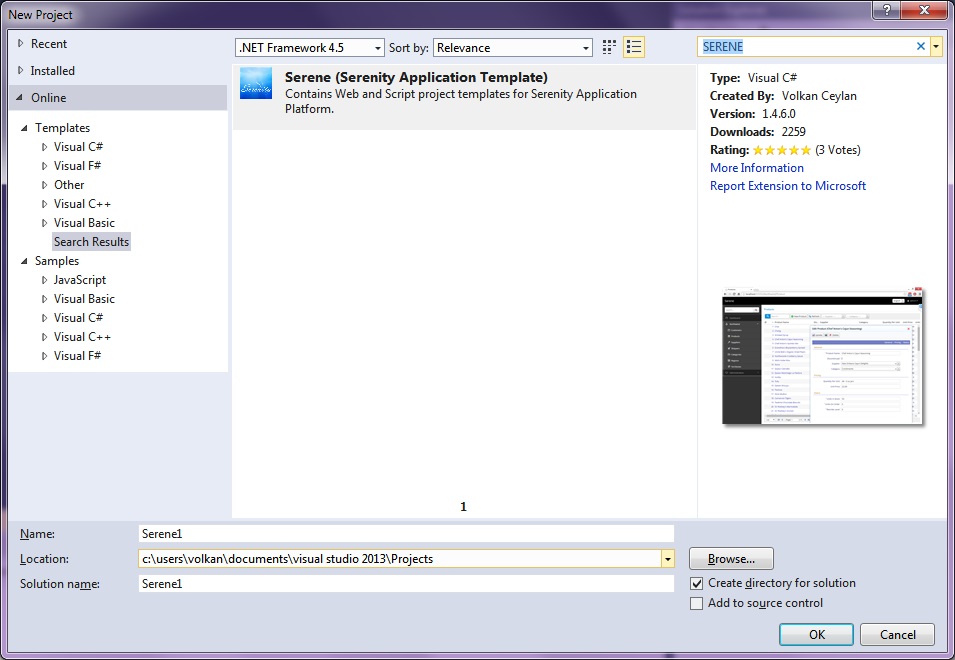
Type SERENE into input box with Search Online Templates label and press ENTER.
You will see Serene (Serenity Application Template):
Visual Studio 2015 and Older
Name your application something like MyCompany, MyProduct, HelloWorld or leave the default Serene1.
Please don't name it Serenity. It may conflict with other Serenity assemblies.
Click OK and take a break while Visual Studio downloads the template and creates the solution.
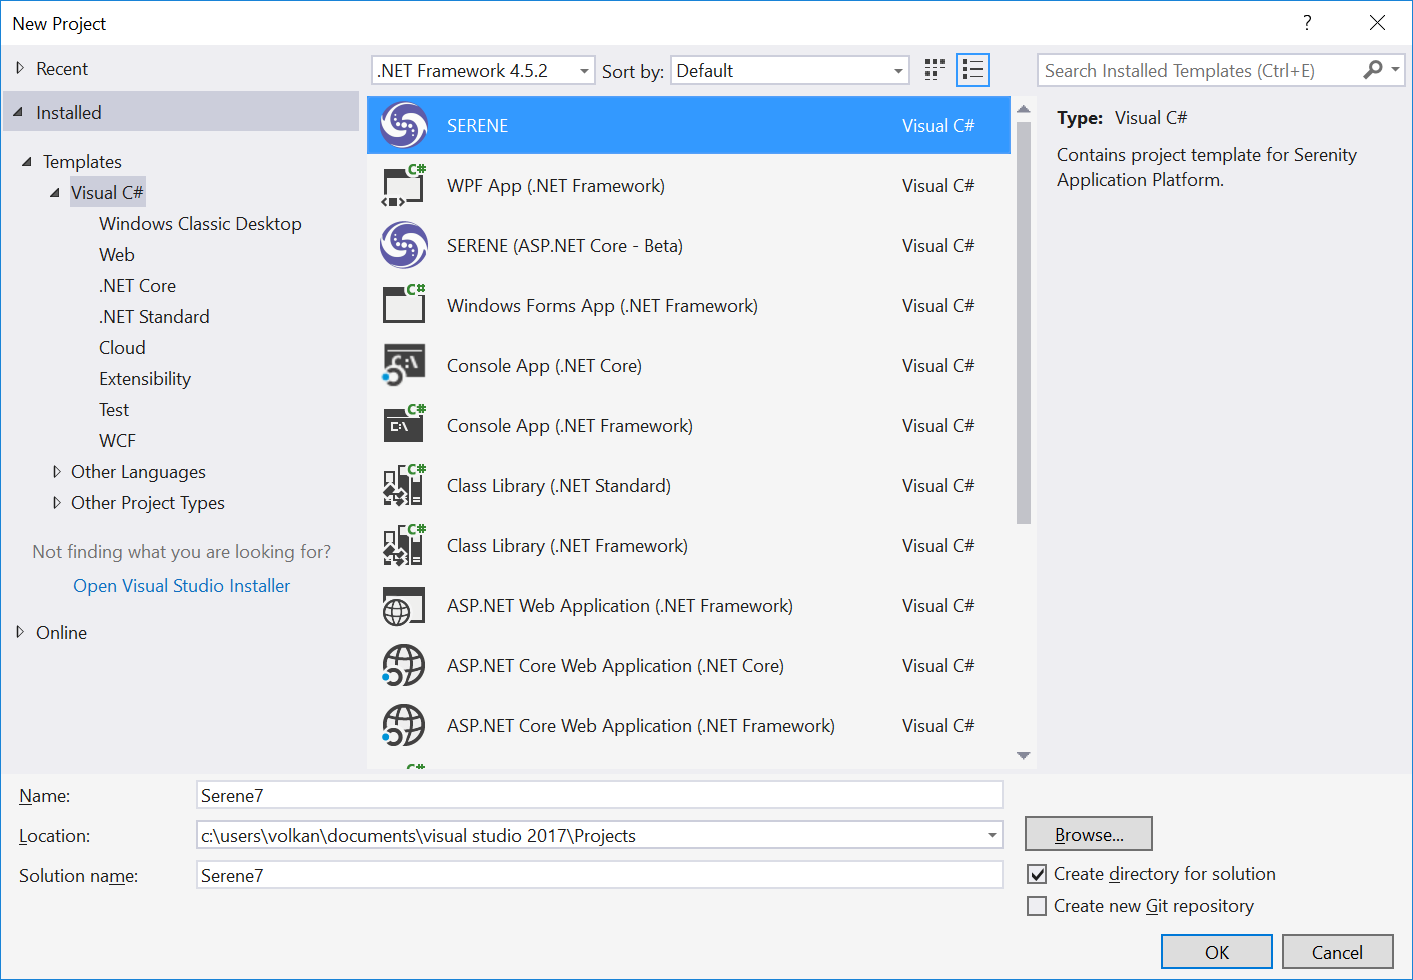
After you create your first project, Serene template is installed into Visual Studio, so you can use the Installed section in New Project dialog to create another Serenity application.
Visual Studio 2017 Users
Unfortunately Visual Studio 2017 changed template installation process. When you select Serene from Online section and click OK, you'll see this dialog:
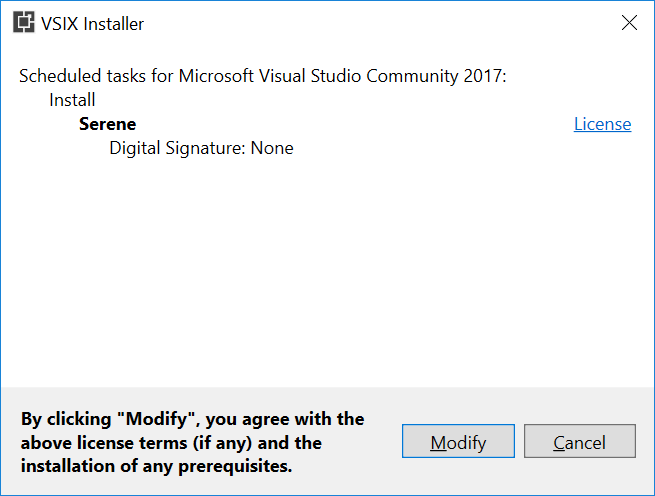
When you click Modify, you'll be asked to terminate Visual Studio and other related processes.
After installation, Visual Studio won't restart itself. You'll have to manually relaunch Visual Studio.
Now, if you again go to Online section and click Serene, you'll get this error message:
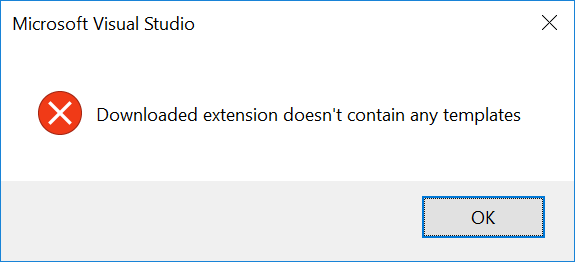
Unfortunately, this is a VS2017 bug.
Please close Online section, and find Serene under New Project => Installed => Templates => Visual C#: