Installing Serene From Visual Studio Marketplace
Downloading Template
Open the URL below in your browser:
https://marketplace.visualstudio.com/items?itemName=VolkanCeylan.SereneSerenityApplicationTemplate
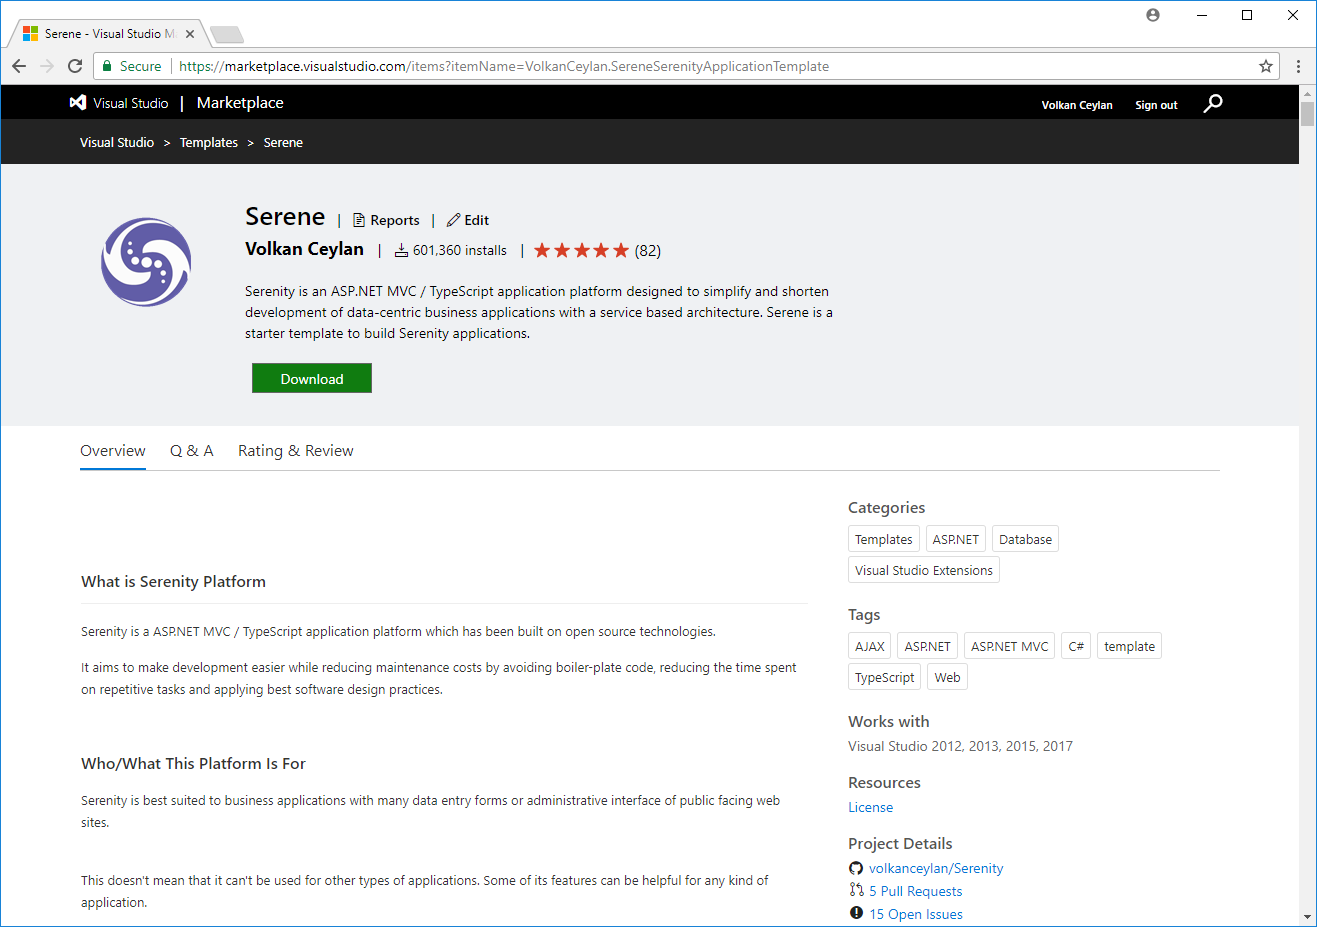
Click Download to transfer the VSIX file to your computer.
You need Visual Studio 2022 17.8+ to run Serene as .NET 8 SDK only supports VS with the latest updates.
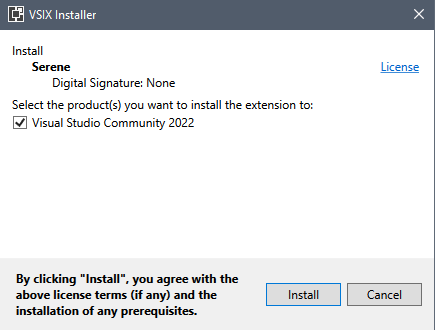
Install Template into Visual Studio
After the download is finished, double-click the downloaded VSIX file to start the Visual Studio extension installation dialog

Click Install when prompted.
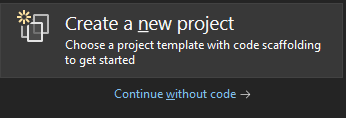
Creating a New Project in Visual Studio
Start Visual Studio (if it was already open, restart it). Click Create a new project on the startup screen (or from the menu File => New Project).
If not displayed already, find Serene using the top search input, and select SERENE.
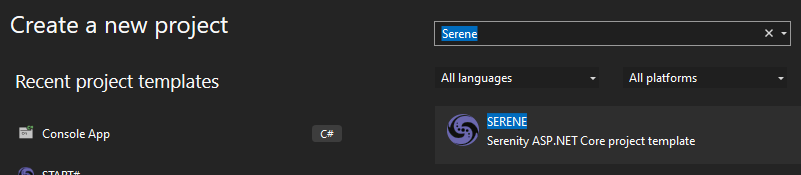
Name your application something like MyCompany, MyProduct, or HelloSerenity, or leave the default name Serene1.
Please don't name it Serenity. It may conflict with other Serenity assemblies.
You should use Pascal casing, e.g. a name that starts with a Capital Letter. Don't name your project something like myProject.
Click OK.
Feature Selection
Serene will prompt you to choose features you would like to see.
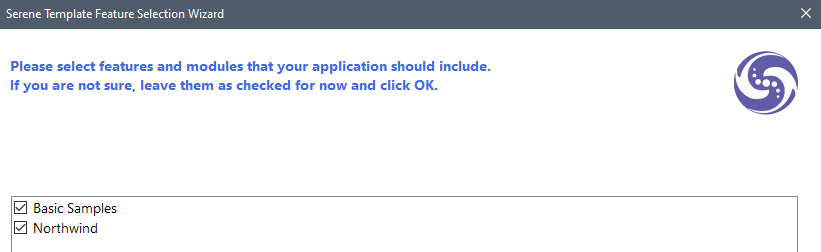
The listed features/samples are all optional. Initially, we recommend you leave them all checked so that you might have a look at how they are implemented.
After having some experience with Serene, you might create a new application and clear all these checkboxes to have a bare minimum project.
Choose features you like, click OK and take a break while Visual Studio creates the solution.