User, Role, and Access Rights Management
Serene has built-in user, role, and access rights management.
This feature is not embedded in Serenity itself. It is just a sample, so you can always implement and use your user management of choice. We'll take a look at how in following chapters.
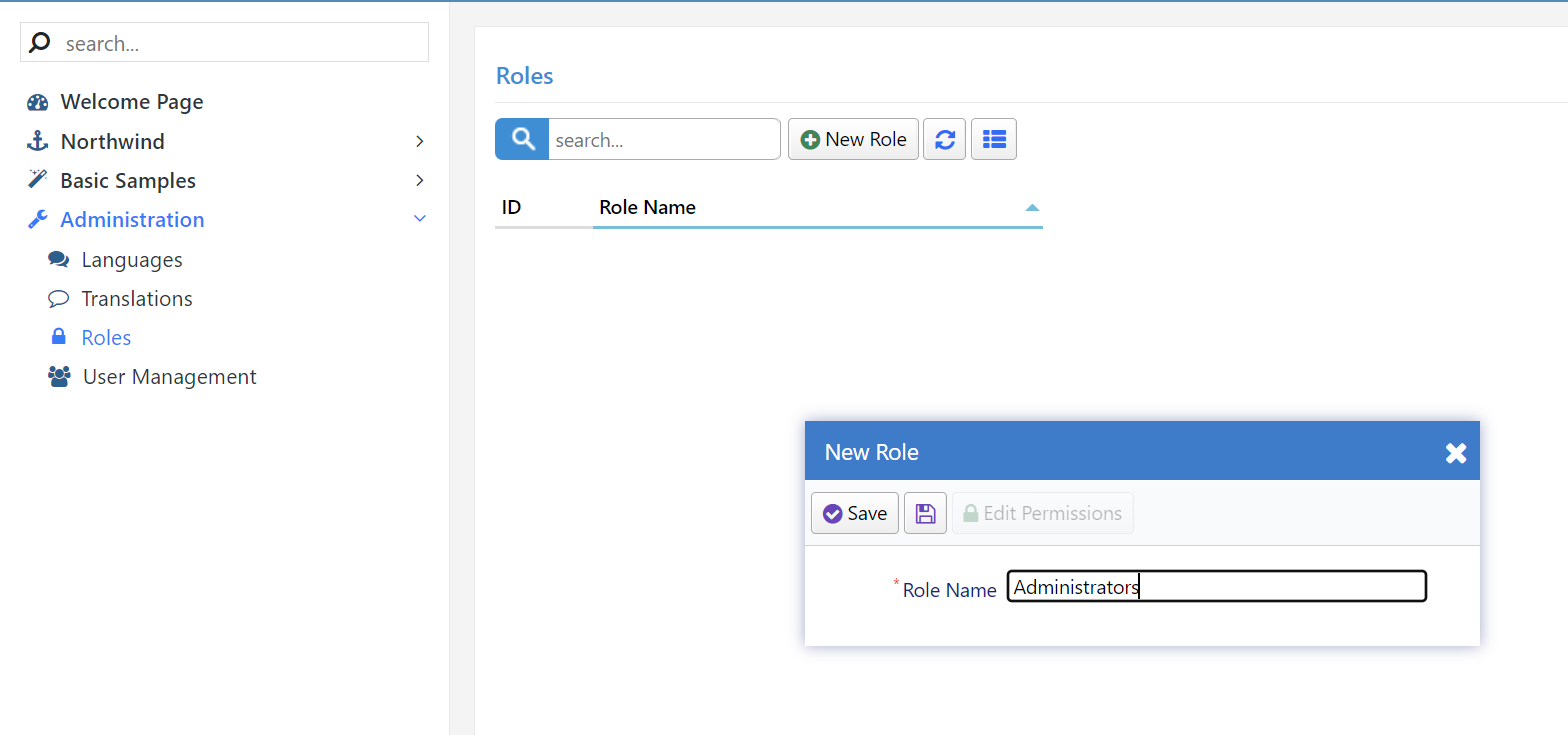
Open Administration / Roles to create the roles of Administrators and Translators.
Click New Role and type Administrators, then click Save.
Repeat it for Translators.
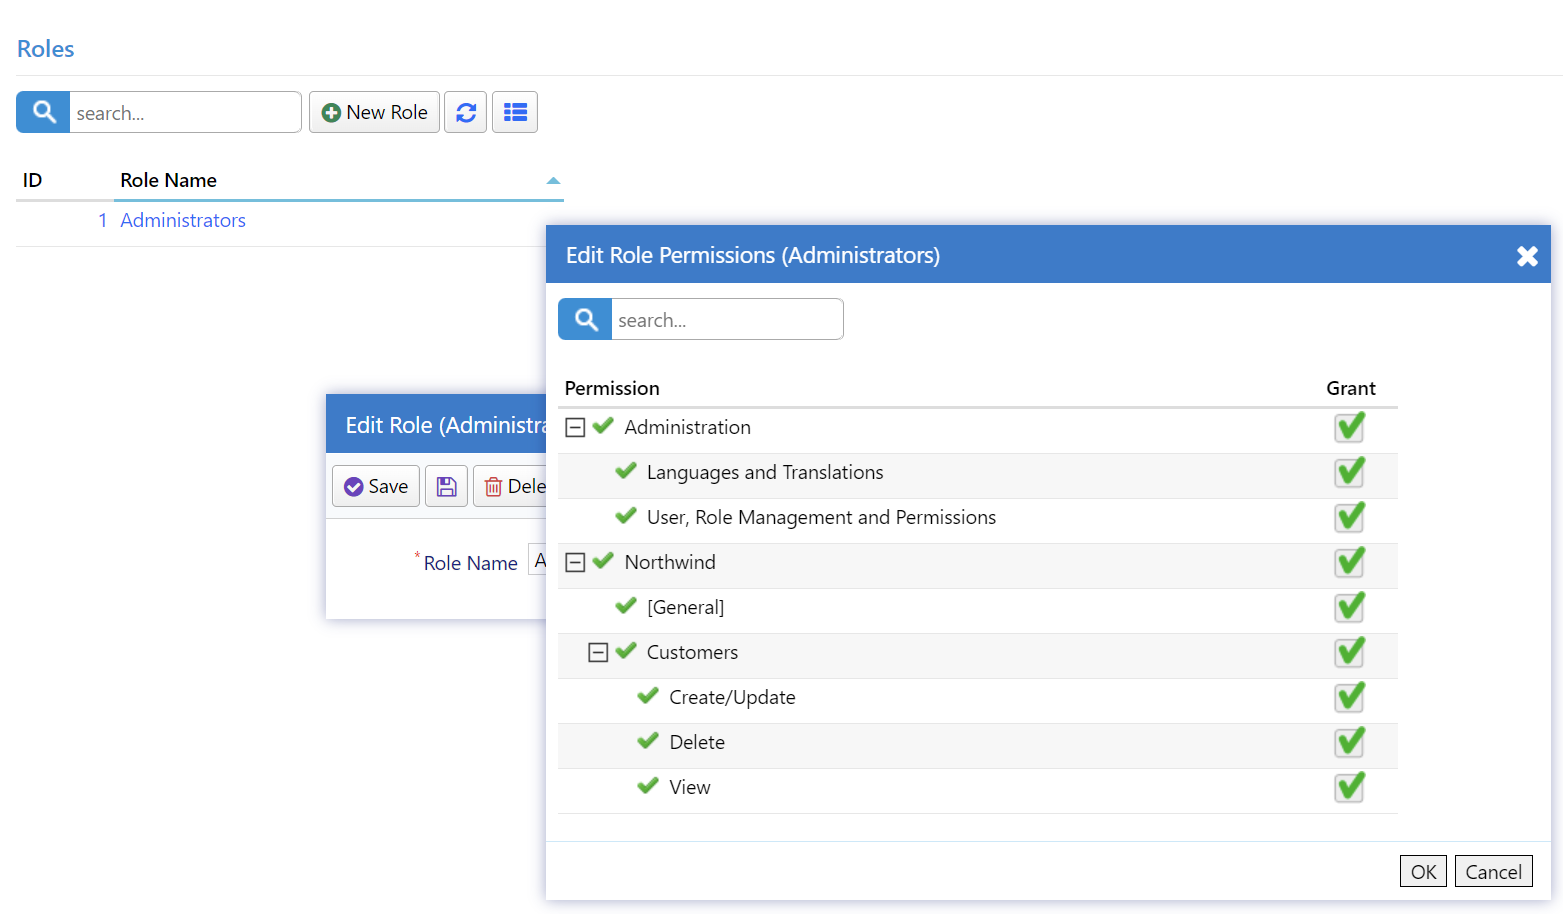
Then click role Administrators to re-open the edit form, and click the Edit Permissions button to modify its permissions.
Check all boxes to grant every permission to this role, then click OK:
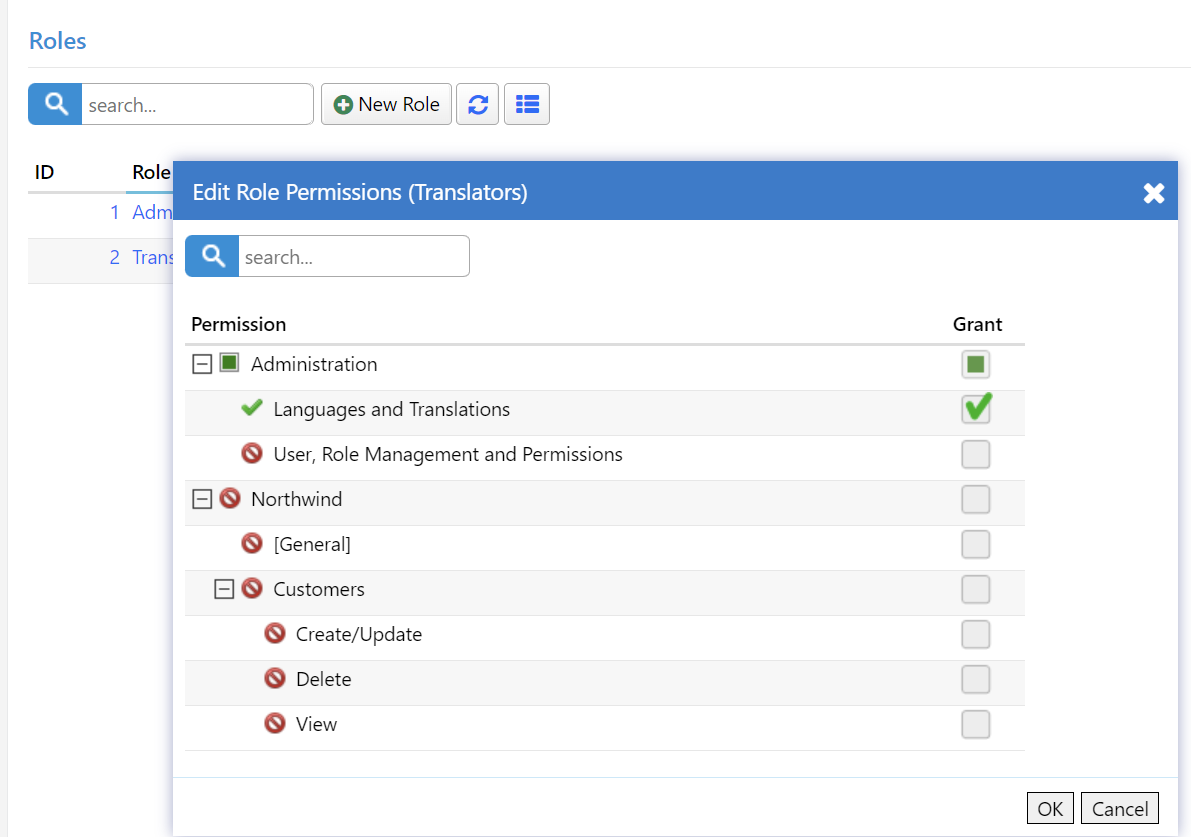
Repeat the same steps for the Translators role but this time grant only the Administration: Languages and Translations permission:
Navigate to Administration / User Management page to add more users.
Click the admin user to edit its details:
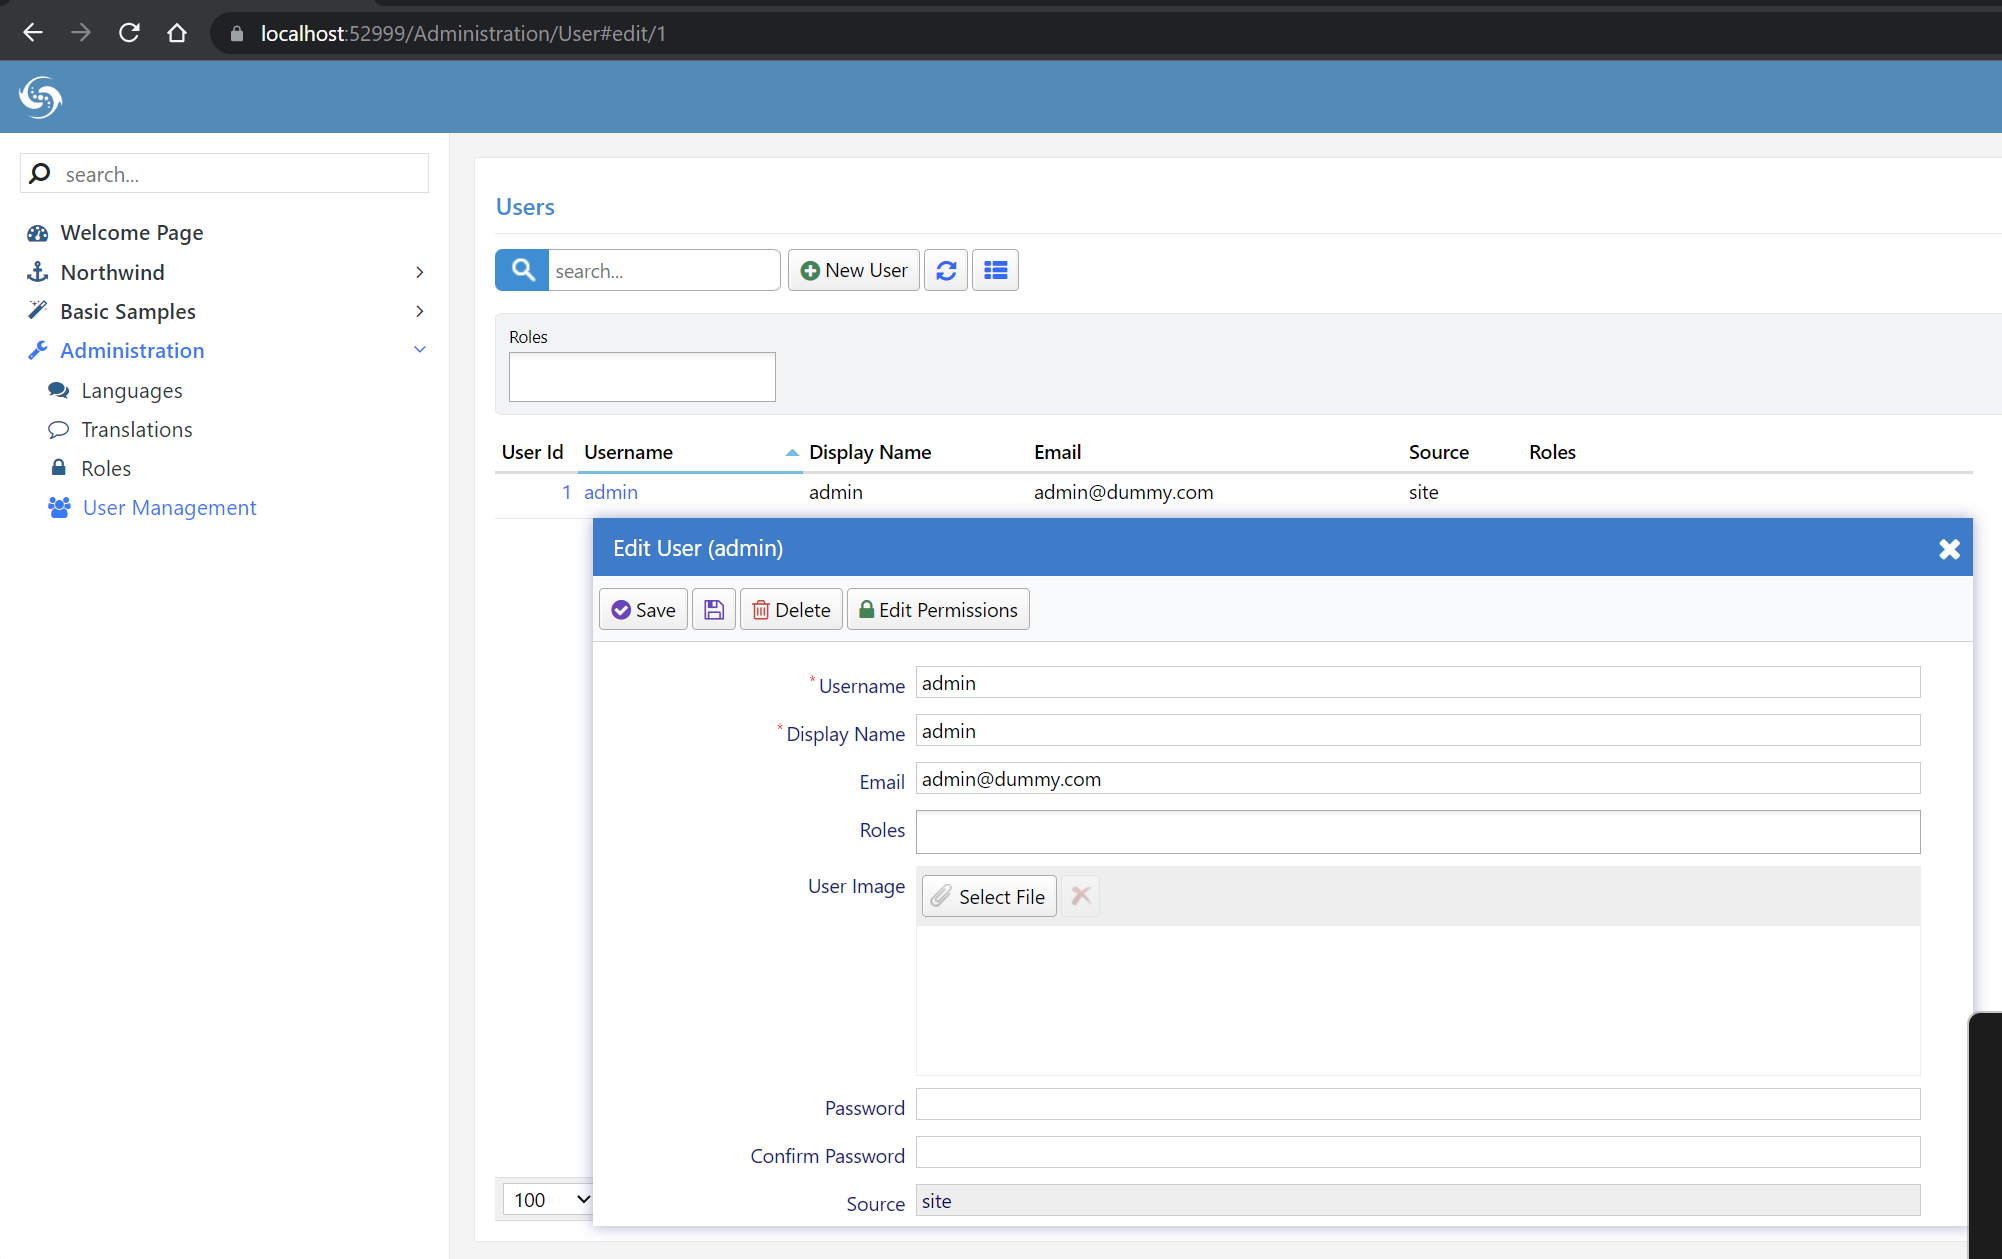
Here you can change admin details like username, display name, and e-mail.
You can also change its password (which is serenity by default) by typing into Password and Confirm Password inputs and clicking the Save button.
You can also delete it but this would make your site unusable as you wouldn't be able to login.
admin is a special user in Serene, as it has all permissions even if none is explicitly granted to him.
Let's create another one and grant roles/permissions to it.
Close this dialog, click the New User button and type translator as the username, and select Translators in the Roles input. Fill in other fields as you'd like, then click Save.
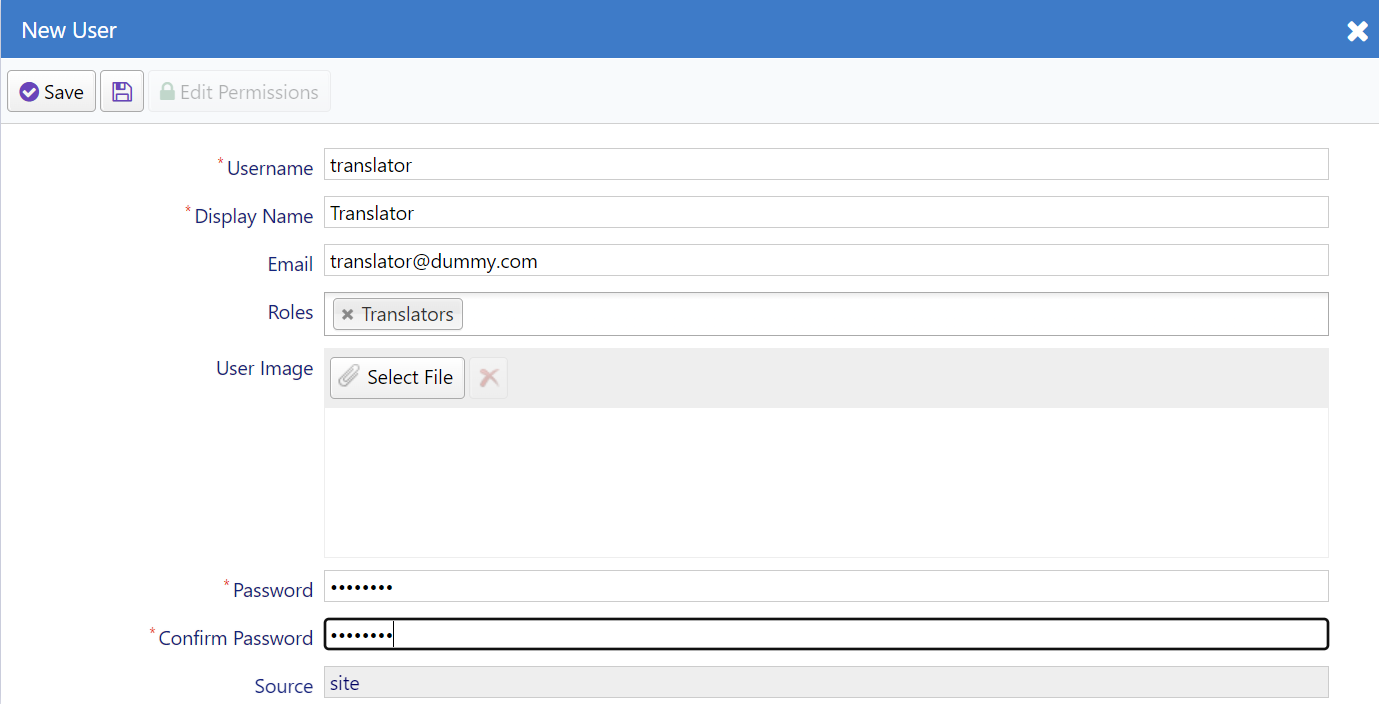
You may have noticed there is an Apply Changes button with a disk icon without title, next to Save. Unlike Save, when you use it, the form stays open, so you can see how your record looks like after saving, also you can edit roles and permissions before closing the form.
When you grant a role to a user, he gets all the permissions granted to the role automatically. By clicking Edit Permissions and you can also grant extra permissions explicitly. You can also revoke any of the role permission from a user explicitly.
Now close all dialogs and log out by clicking the user icon on the top right of page and clicking Logout.
Try logging in with the translator user and the password you set.
The Translator user will only have access to the Dashboard, a few pages of the Basic Samples that do not use the Northwind module, in addition to the Languages and Translations pages.